Gideon Bakx
C# certified software engineer living in Calgary, Canada.
Recently discovered BluecherryDVR and decided to move the storage to my Synlogy NAS.
These are the steps that were needed to get it to work:
First, create a shared folder through the control panel in Synology.
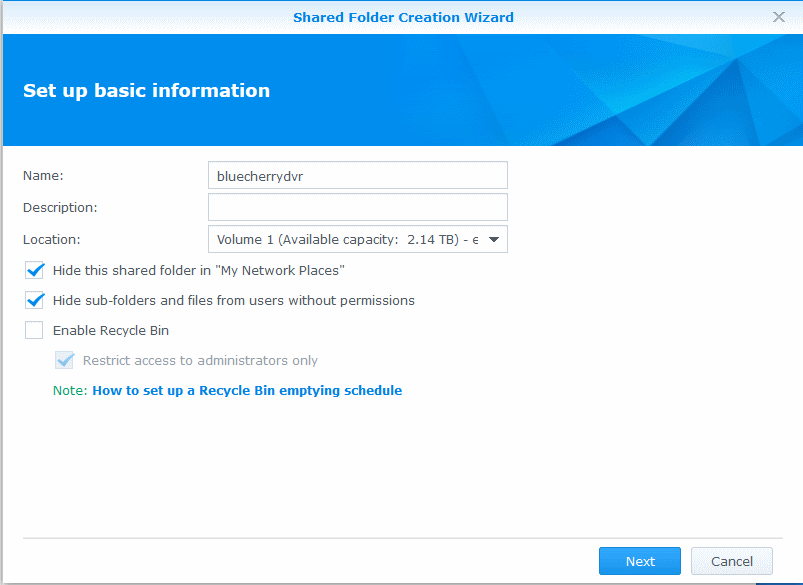
After stepping through the wizard, add the following rule.
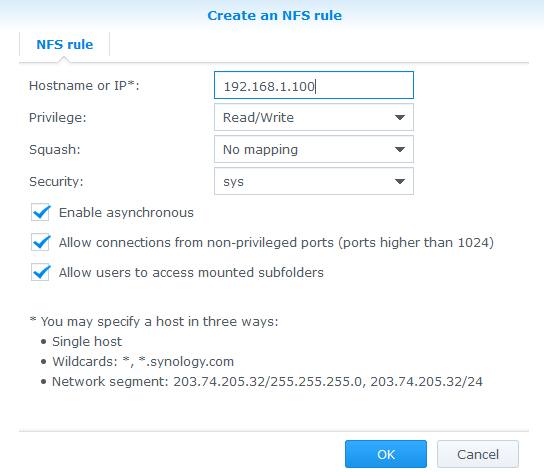
In this example it is assumed that BluecherryDVR is running on IP 192.168.1.100.
Now log in to your Ubuntu server and execute the following commands:
sudo apt install nfs-common
# Create the local mount folder
sudo mkdir -p /nfs/bluecherrydvr
# Test mounting to the NAS
sudo mount 192.168.2.100:/volume1/bluecherrydvr /nfs/bluecherrydvr .
This should not produce any exception.If it does, do not continue as modifying fstab in later steps might cause issues with booting up the OS.
To make the folder mount automatically upon boot, execute the following command:
sudo nano /etc/fstab
In this file, put the following line at the bottom
192.168.2.100:/volume1/bluecherrydvr /nfs/bluecherrydvr nfs auto,nofail,noatime,nolock,intr,tcp,actimeo=1800 0 0
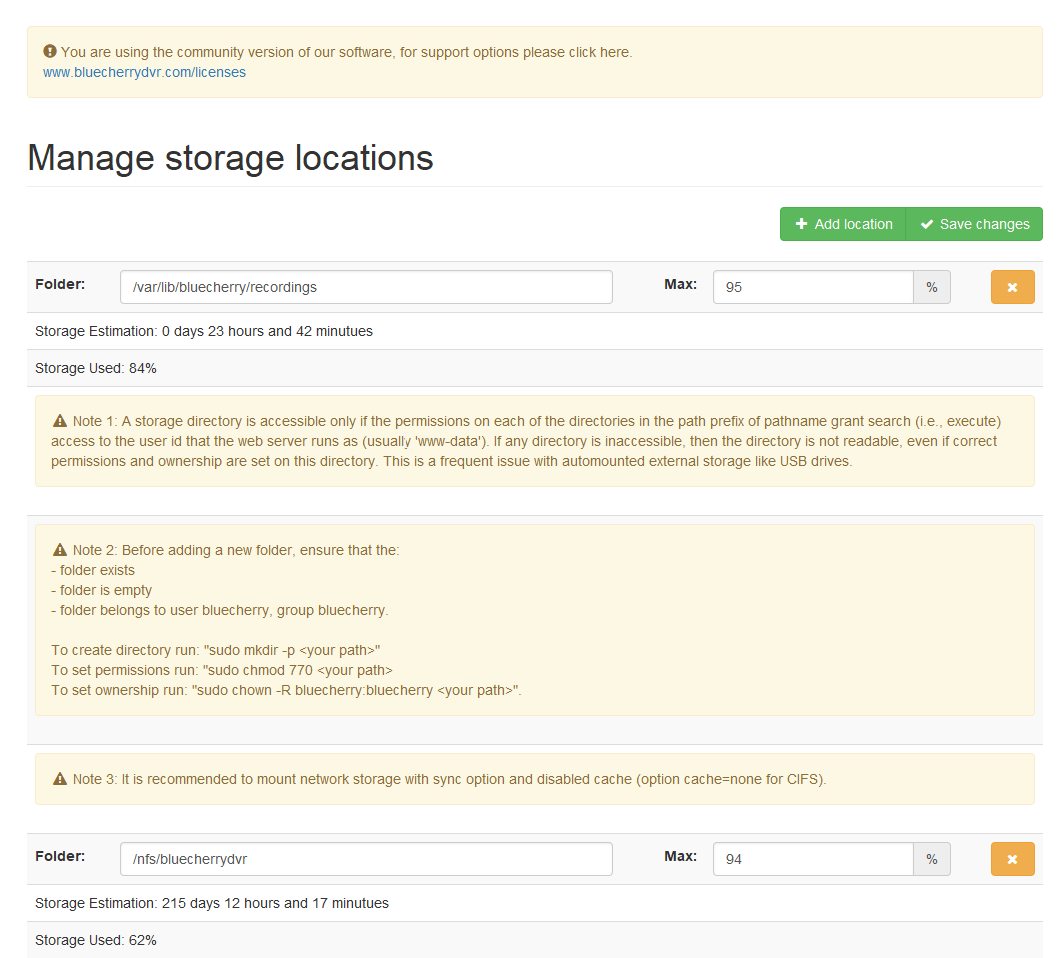
When using BluecherryDVR , the software requires that the user and password have full access to the folder.
# Give bluecherrydvr access to the share
sudo chown -R bluecherry:bluecherry /nfs/bluecherrydvr
After these steps, you should be able to add the storage location to BluecherryDVR